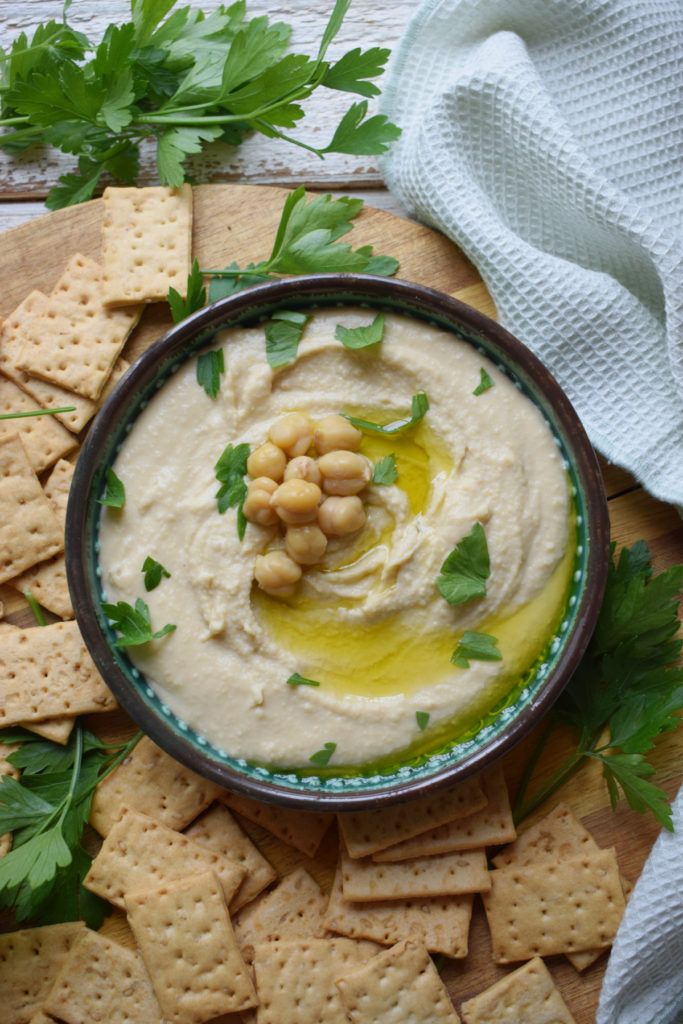
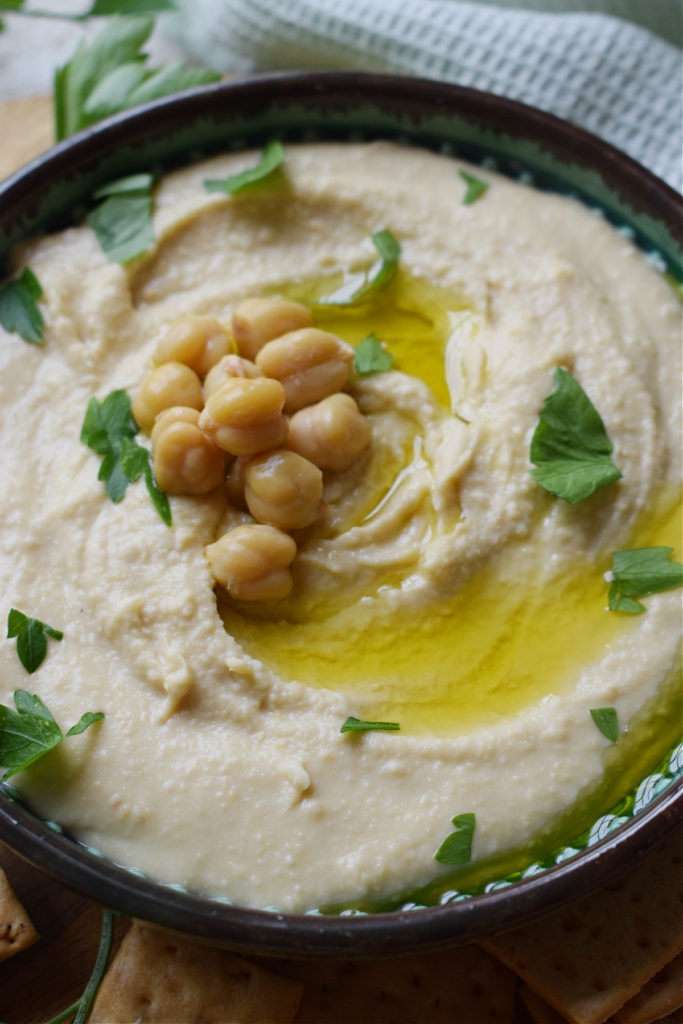
This Classic Homemade Hummus Recipe is a wonderful snack food or party dip that’s really easy to make. Using just chickpeas as the base with lemon juice, garlic, olive oil and tahini paste for a super flavourful dip!
Admittedly, I was a late bloomer to Hummus. In fact, I didn’t even know what it was until my late 20s when I met my husband. I was more of a Spicy Salsa or Pico de Gallo kind of girl. Give me any kind of a Mexican style dip and I was happy.
The flavours of the Mediterranean, when it came to dips, just passed me by. Didn’t have anything against them, I just didn’t know about them. Until my husband ordered it as a part of a tapas plate in a pub. Ummm, I willing to try right?
It was love at first bite and I knew I’d be making it at home soon enough for myself. So let’s take a look at how to make this easy dip.

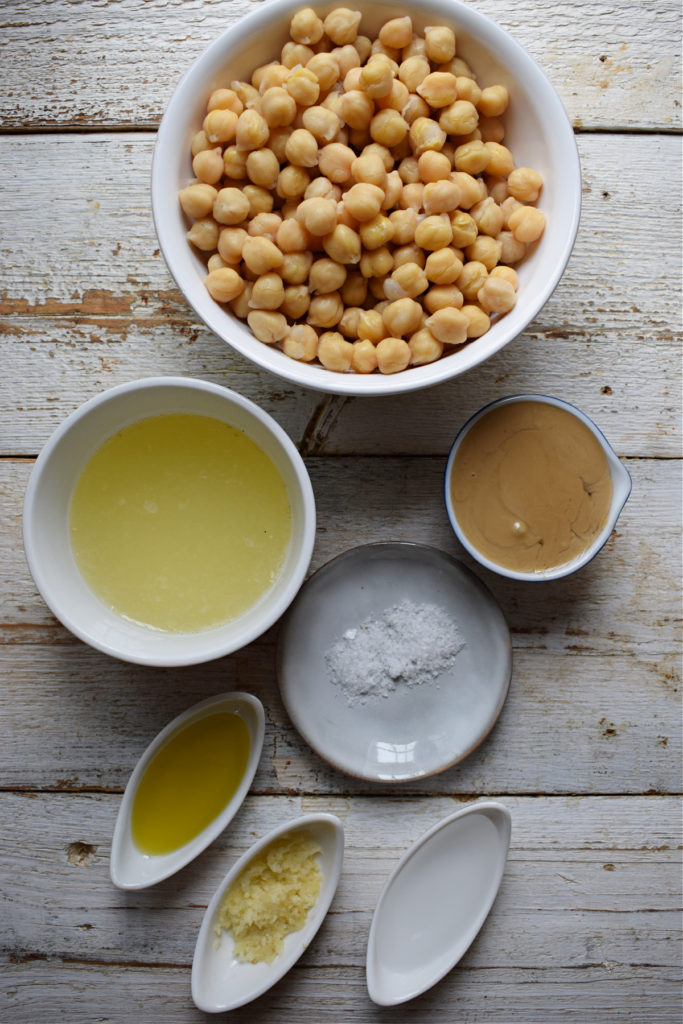
What We Need to Make The Classic Hummus
- Cooked chickpeas
- Tahini paste
- Lemon Juice
- Olive Oil
- Garlic
- Salt
REMEMBER, You will find the full recipe with instructions in the recipe card at the end of the post.
Instructions
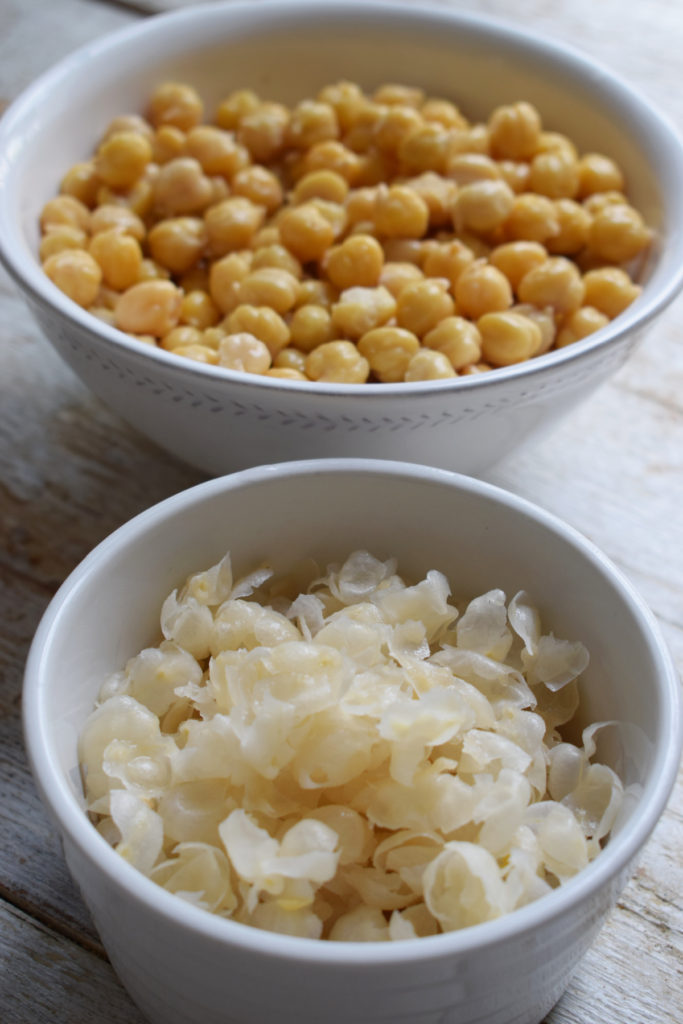
- Peel the chickpeas – gently rub each chickpea to loosen and remove the skin. Repeat for all chickpeas and discard the skins.
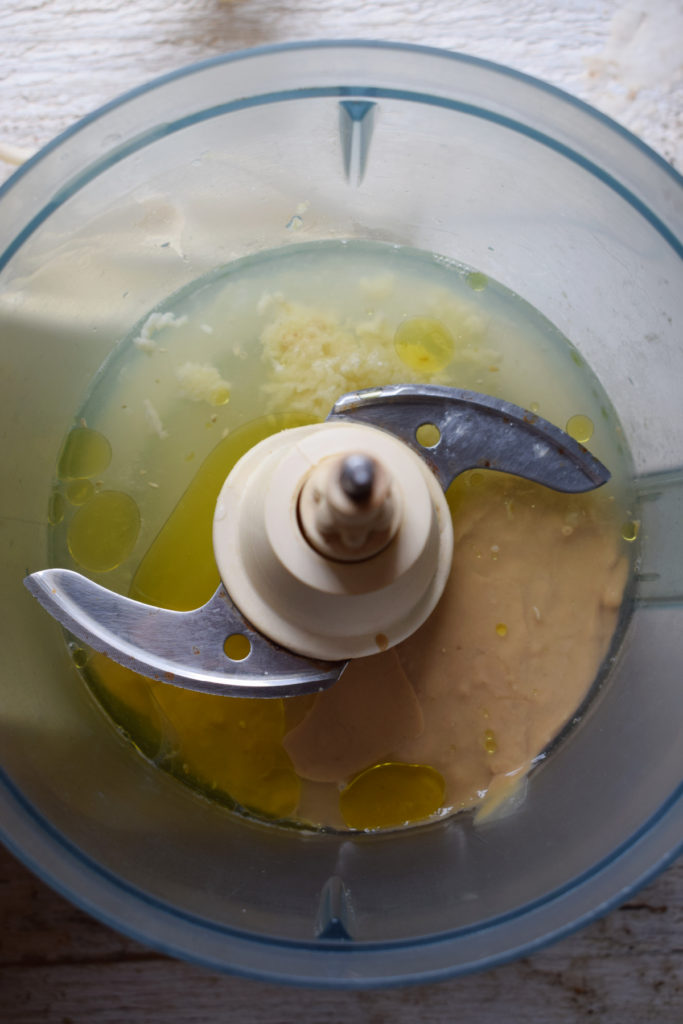
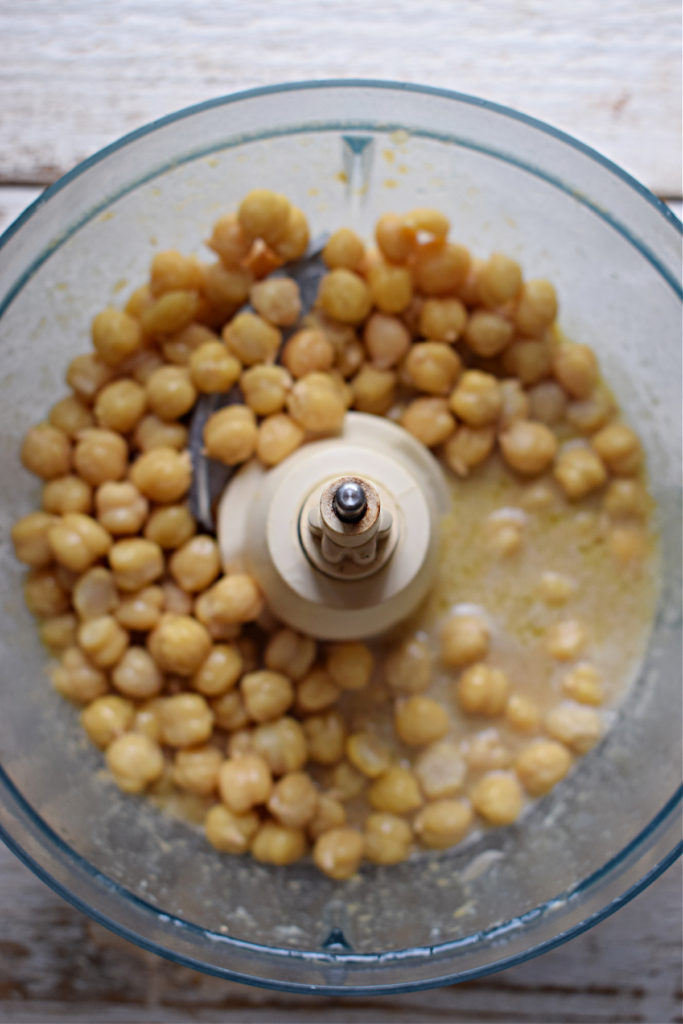
- Add ingredients to food processor – add lemon juice, olive oil, thaini paste, garlic, salt and water to a food processor. Pluse on high for about a minute.
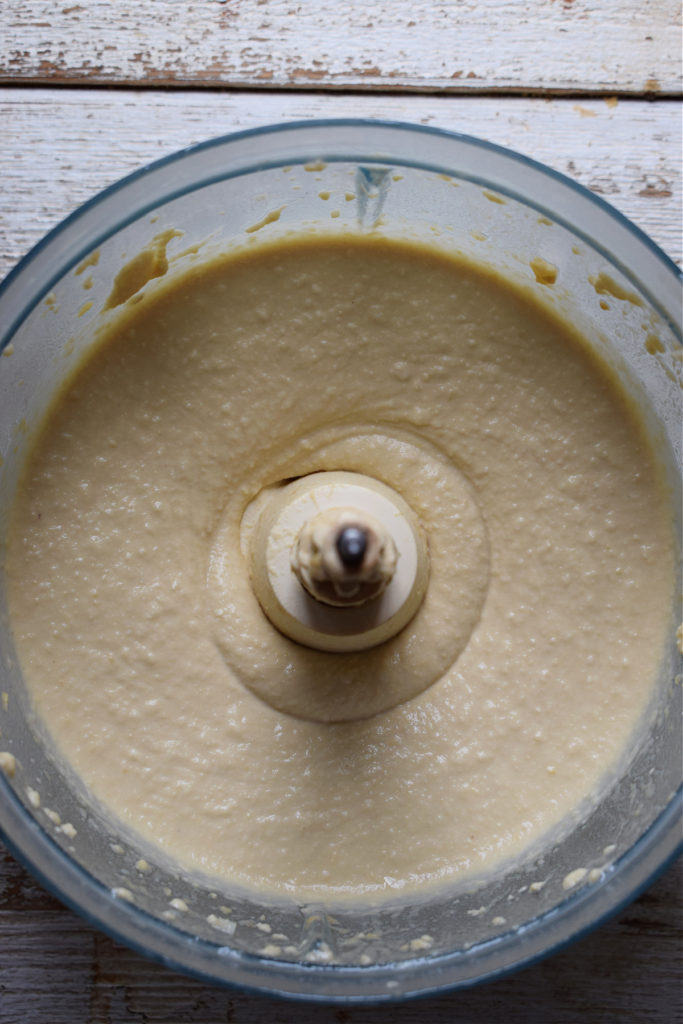
- Add chickpeas – add the chickpeas to the food processor and pulse on high for 3 – 4 minutes until really smooth. Scrape down the sides as necessary when blending. If the mixture is too thick, add a little more cold water as needed.
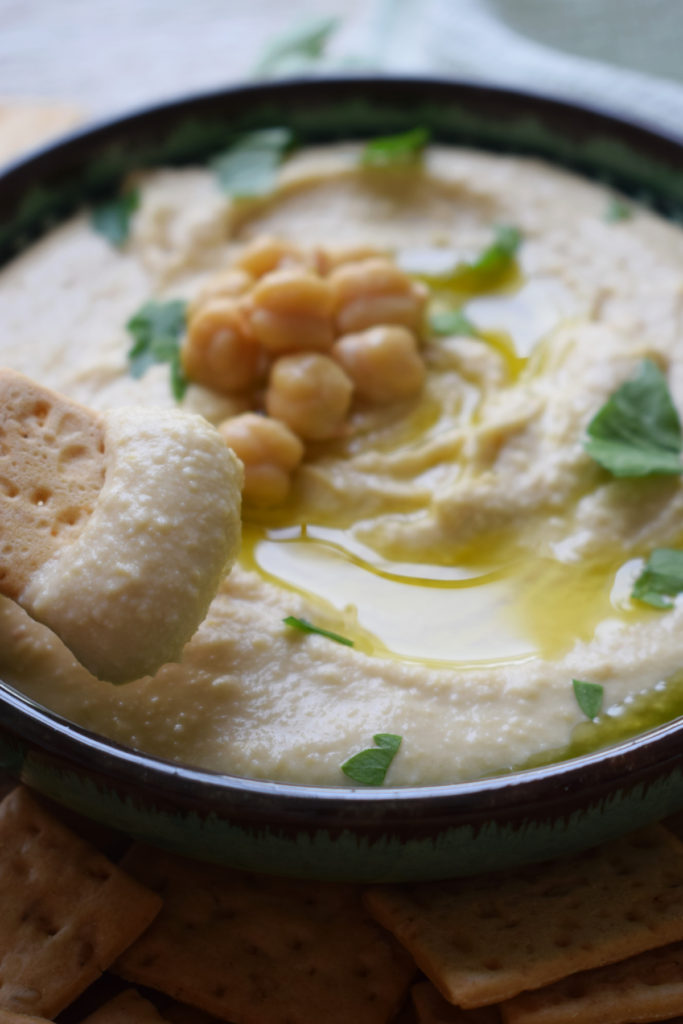
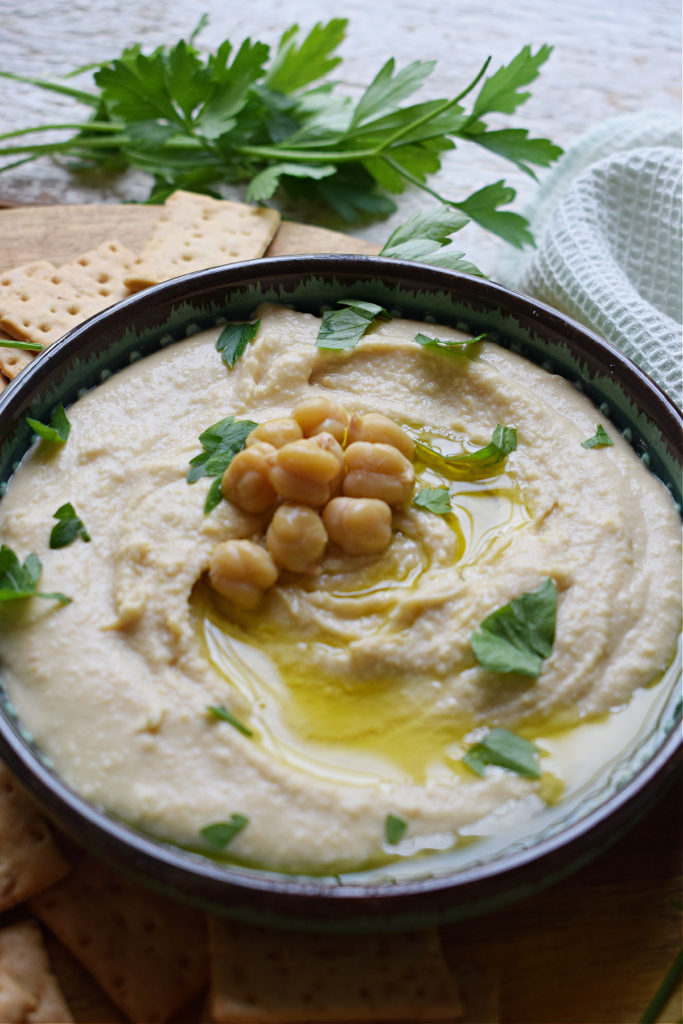
- Serve – remove the hummus from the food processor and transfer to a serving dish. Serve with pita bread, crackers or raw vegetables.
Recipe Tips
- Taste as you go – the portions of lemon to olive oil to garlic are my personal taste. If you like it with a bit more lemon, add some. Same goes for garlic and olive oil. I feel it’s perfect just like this, but make adjustments as necessary.
- Use soft chickpeas – if using can chickpeas, make sure they are really soft, almost mushy. if they are not really soft, you will not get a smooth hummus. I recommend cooking the can chickpeas for a further 15 – 20 minutes in boiling water if they are not soft enough. This isn’t usually necessary, just depending on brand of chickpeas you are using.
- Cook chickpeas from dry – if you would like to make this recipe using dry chickpeas, see the notes section in the recipe card at the end of the post.
- Storing homemade hummus – you can store this homemade hummus in an airtight container in the fridge for about 4 days.
Substitutions and Variations
- Kalamata olive hummus – you can add in about 1/2 cup of black olives with the chickpeas.
- Sun dried tomato hummus – this is an amazing flavour. Just add about 1/2 – 3/4 cups of sun dried tomatoes packed in oil (drained) to the food processor with the chickpeas.
- Roasted red pepper hummus – these also make a great addition. You can roast your own red peppers or buy them in a jar ready to go. Add about 1/2 to 3/4 cup of red pepper strips with the chickpeas for a unique flavour.
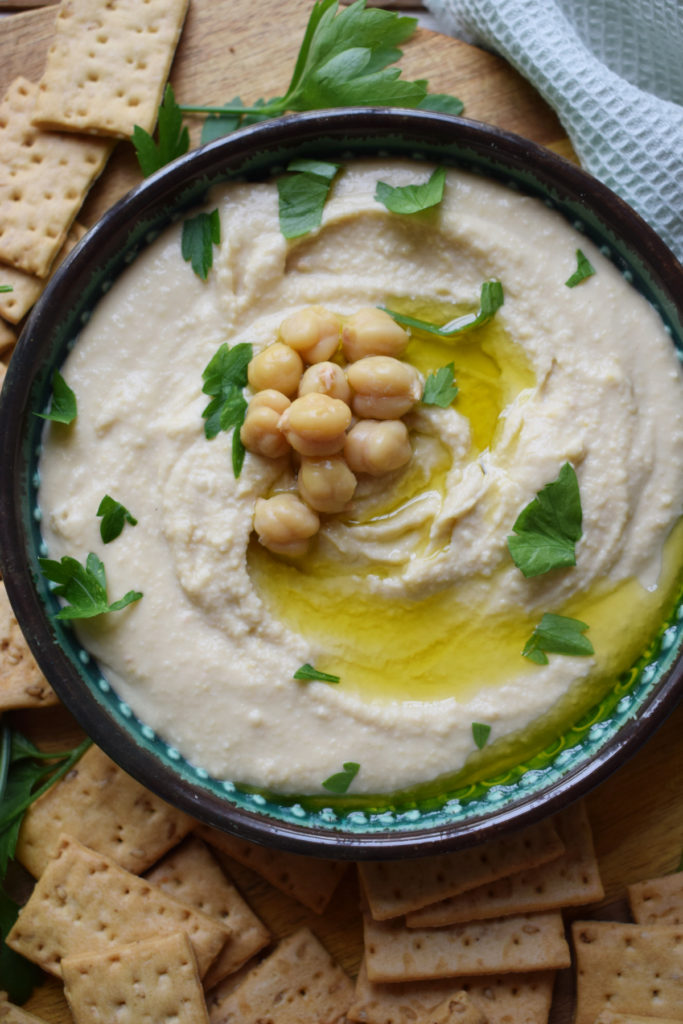
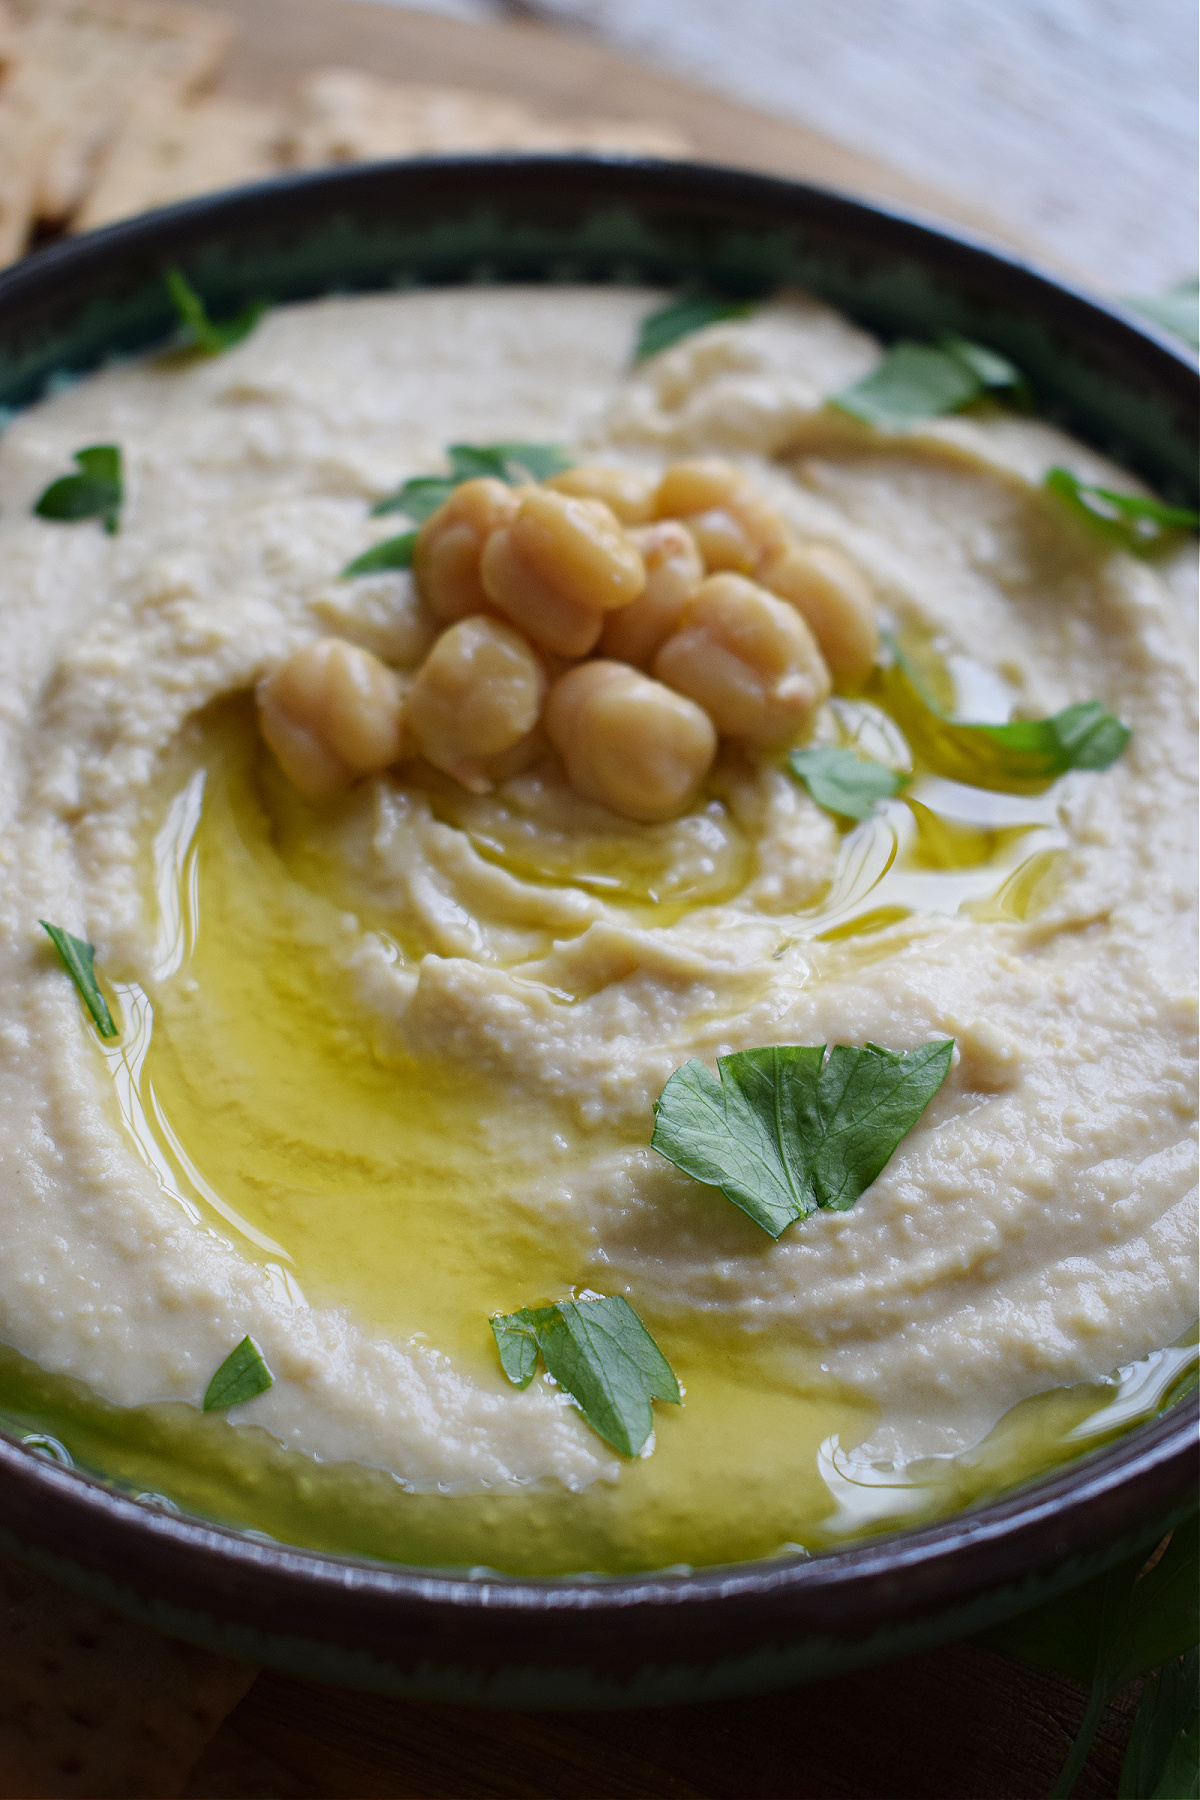
- Garnishes – I’ve garnished this with a few chickpeas, olive oil and parsley. You could use other variations like sumac, paprika, cumin, toasted sesame seeds and/or cilantro.
What To Serve With Hummus
- Serve it as a dip – I like this best served as a dip with vegetables, crackers, toasted pita bread. It goes great with vegetables like carrot sticks, bell peppers, celery and cucumber slices.
- Spread it on sandwiches – Hummus makes a great filling for sandwiches. You can eat it just as is or add your favourite deli meats, cheese or vegetables.
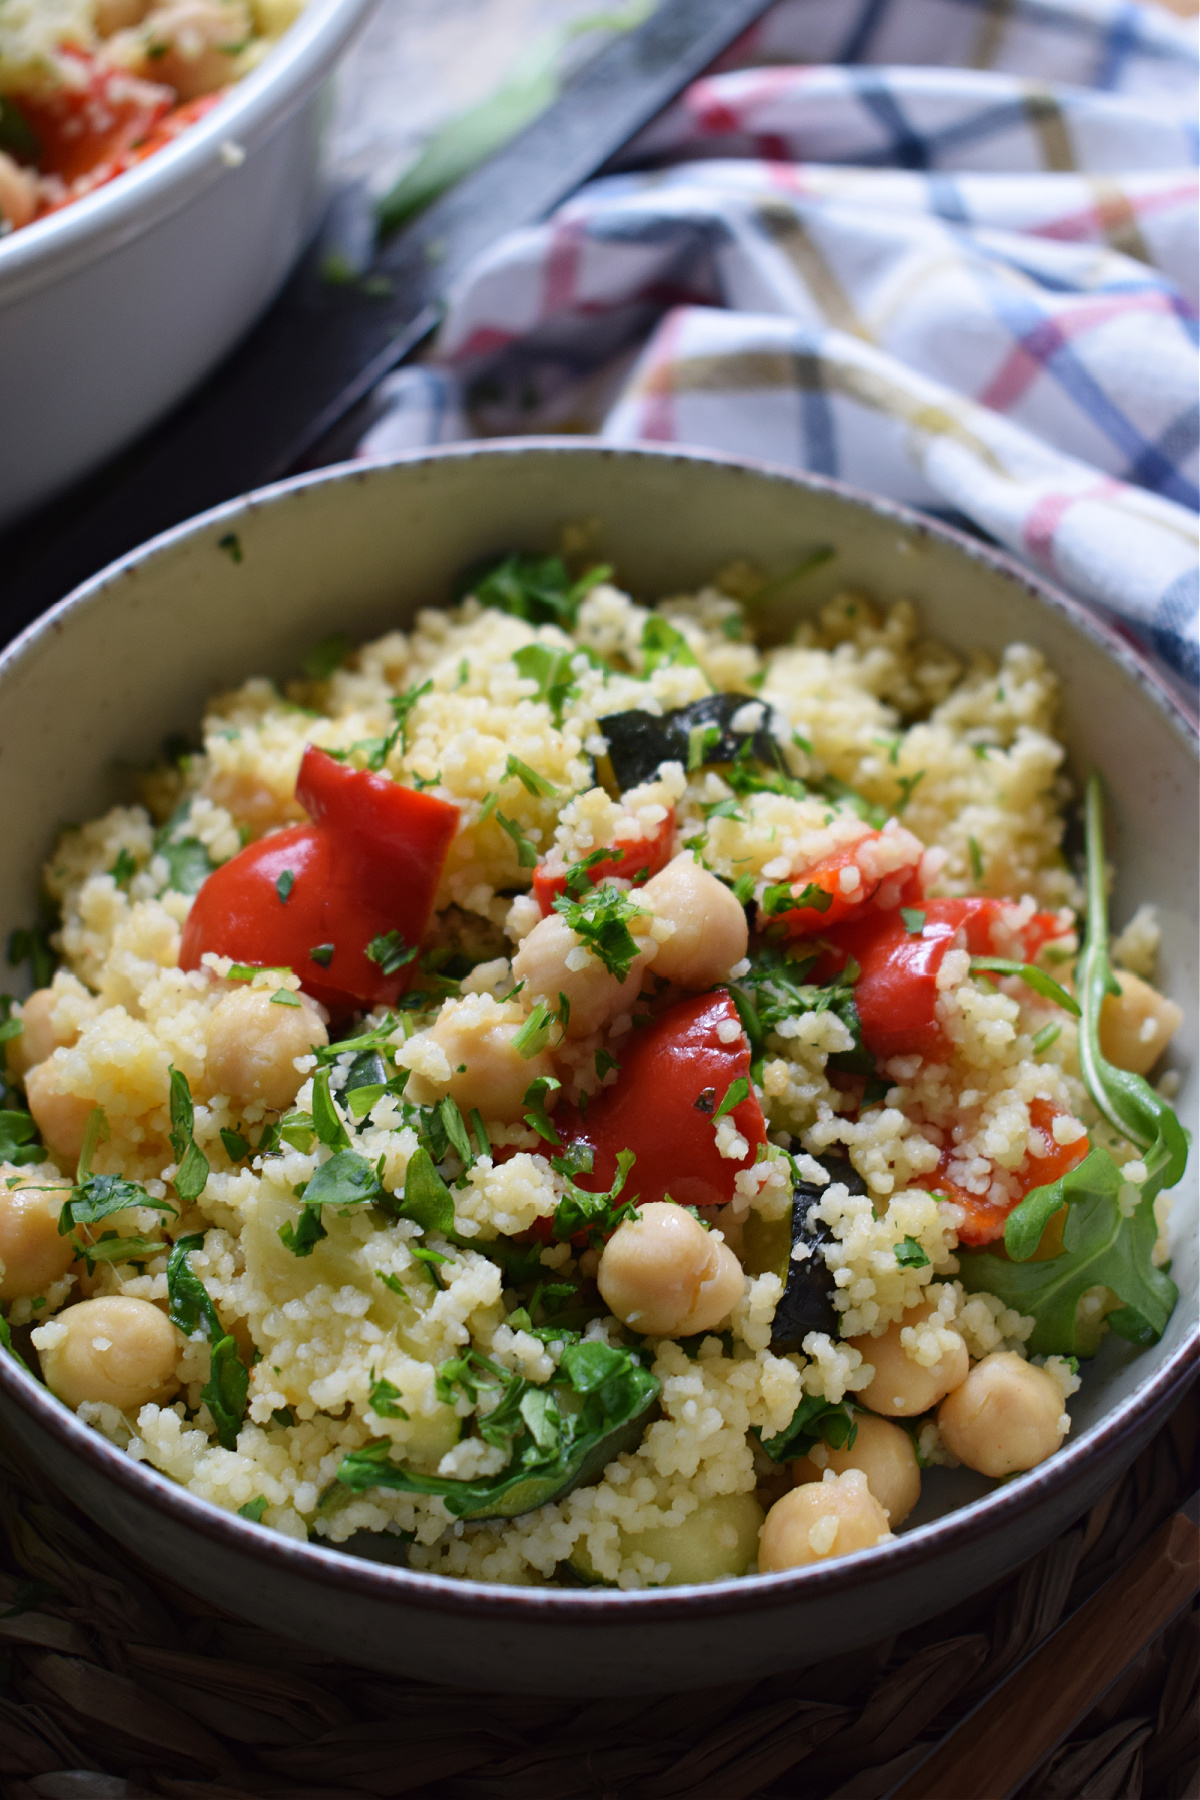
- Mix it into salads – it also goes great mixed into Mediterranean salads. Don’t be afraid to mix a few tablespoons in with a vinaigrette and then add it to you salad. Delish!
Frequently Asked Questions
Thaini is a paste made from sesame seeds and it can be expensive and sometimes difficult to find. You do not need it to make delicious hummus. You can simply omit this ingredient. It will have a different flavour but it’s still great.
Yes, you can freeze homemade hummus. Place it in a good quality freezer proof container and freeze for up to three months. Allow to defrost in the fridge overnight before consuming.
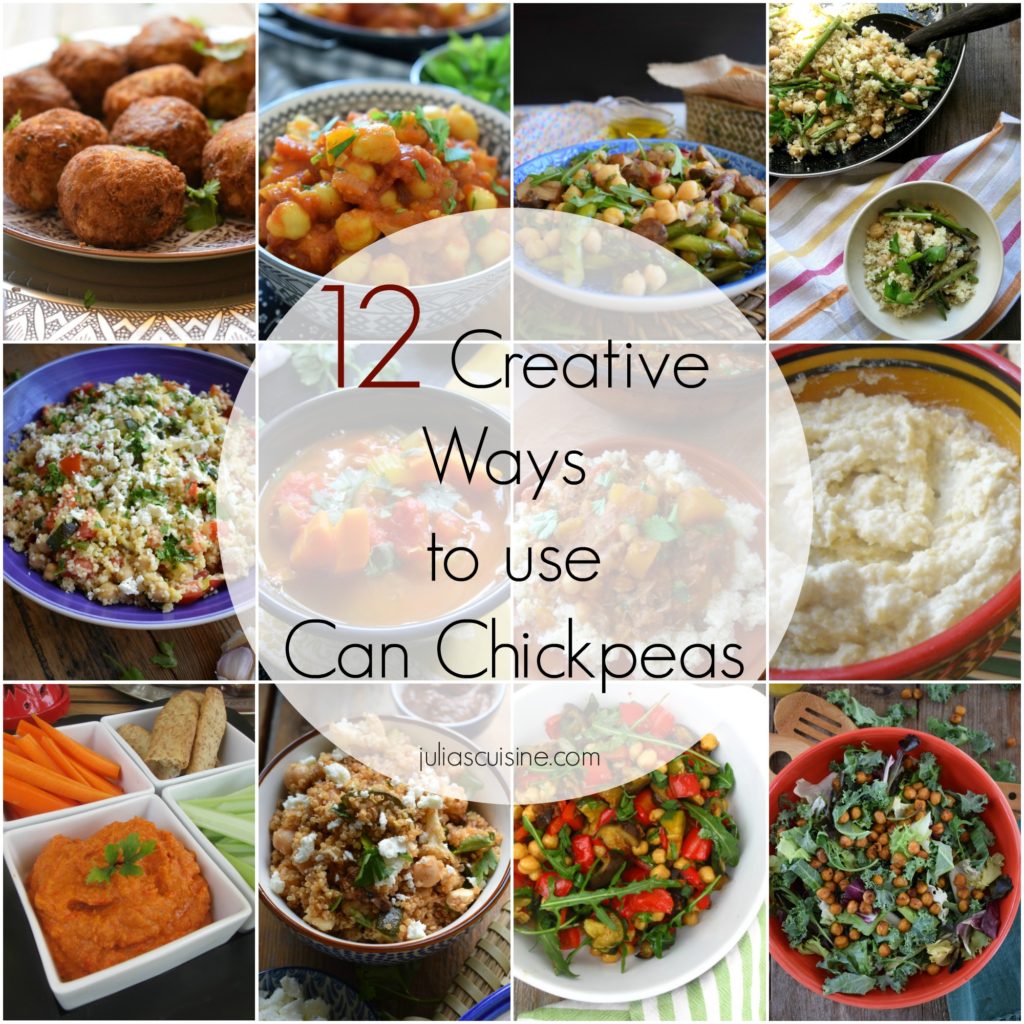
Looking for more ways to use Chickpeas, Then Take a Look At this Roundup
Get the recipe for 12 Ways to use Can Chickpeas!


Classic Hummus
Ingredients
- 2 cups chickpeas cooked
- 1/3 cup tahini paste sesame seed paste
- 1/2 cup lemon juice
- 2 tablespoon olive oil
- 3 cloves garlic minced
- 2 tablespoons cold water
- Salt to taste
Instructions
- First peel the chickpeas. Gently rub each chickpea to loosen and remove the skin. Repeat for all chickpeas and discard the skins.
- Add lemon juice, olive oil, thaini paste, garlic, salt and water to a food processor. Pulse on high for about a minute.
- Add the chickpeas to the food processor and pulse on high for 3 – 4 minutes until really smooth. Scrape down the sides as necessary when blending. If the mixture is too thick, add a little more cold water as needed.
- Remove the hummus from the food processor and transfer to a serving dish. Serve with pita bread, crackers or raw vegetables.
*A note on times provided: appliances vary, any prep and/or cook times provided are estimates only.
Notes
- In a large saucepan, combine 3/4 cup of dry chickpeas with water. Fill the pot almost to the rim with water. Leave to soak overnight.
- After the chickpeas have soaked for 8 hours, change the water and refill the pot with water. Cook over medium heat for about 1 1/2 hours until the chickpeas are really soft. if they are still not really soft at this point, continue cooking for about 30 more minutes. Add more water if necessary.
- When fully cooked and soft, drain and rinse.
- Remove skins as you would would in the written recipe above.
- Taste as you go – the portions of lemon to olive oil to garlic are my personal taste. If you like it with a bit more lemon, add some. Same goes for garlic and olive oil. I feel it’s perfect just like this, but make adjustments as necessary.
- Use soft chickpeas – if using can chickpeas, make sure they are really soft, almost mushy. if they are not really soft, you will not get a smooth hummus. I recommend cooking the can chickpeas for a further 15 – 20 minutes in boiling water if they are not soft enough. This isn’t usually necessary, just depending on brand of chickpeas you are using.
- Storing homemade hummus – you can store this homemade hummus in an airtight container in the fridge for about 4 days.
Thanks For Stopping by & Hope To See You soon!